- Step 1. Prepare Dev Environment
- Step 2: Scaffold a SAPUI5 project
- Step 3. Enable UAA
- Step 4. Consume OData Service
- Step 5. Push UI5 App with CF
- (Optional) Step 6. Destination to App Router
- Next Steps
本系列文章我们将介绍如何为 SAP S4HANA Cloud 系统开发扩展程序 (Extension App)。本文(项目源代码可下载自 GitLab sourcecode)将介绍在本地机器(非 SAP Web IDE)开发 SAPUI5 Web Application。
Step 1. Prepare Dev Environment
Install Yeoman
Yeoman is an Open Source scaffolding tool for modern web-apps. It helps you to kickstart new projects, prescribing best practices and tools to help you stay productive.
- Install
Yeomanglobally
$ npm install -g yo

Yeoman Doctor
Running sanity checks on your system

√ Global configuration file is valid
√ NODE_PATH matches the npm root
√ Node.js version
√ No .bowerrc file in home directory
√ No .yo-rc.json file in home directory
√ npm version
√ yo version

Everything looks all right!
+ yo@2.0.6
added 542 packages from 267 contributors in 57.843s
Install generator-easy-ui5
In order to use Yeoman to create SAPUI5 projects, we need to install a plugin (another npm module). Yeoman recognizes all plugins automatically on the basis of the generator- prefix of the module.
This plugin generator-easy-ui5 has also been published on GitHub.
- Install the
easy-ui5generator and Verify the installations
$ npm install -g yo generator-easy-ui5

$ yo

  Get me out of here!
  ──────────────
  Run a generator
> Easy Ui5
  ──────────────
  Update your generators
  Install a generator
(Move up and down to reveal more choices)
Install the MTA build tool
Cloud-native applications are being ship as so called mta archives. The Multi-target Application Archive Builder is a standalone command-line tool that builds a deployment-ready multi-target application archive .mtar file. You can leverage npm to install this tool as well:
$ npm install -g mbt

$ mbt --help

MTA Build tool V2

Usage:
  MBT [command]

Available Commands:
  assemble    Assembles MTA Archive
  build       Execute MTA project build
  gen         Generation commands
  help        Help about any command
  init        generates Makefile
  validate    MBT validation

Flags:
  -h, --help      help for MBT
  -v, --version   version for MBT

Use "MBT [command] --help" for more information about a command.
Install Make
If you are using Windows and need to install make by following these instructions:
choco install make
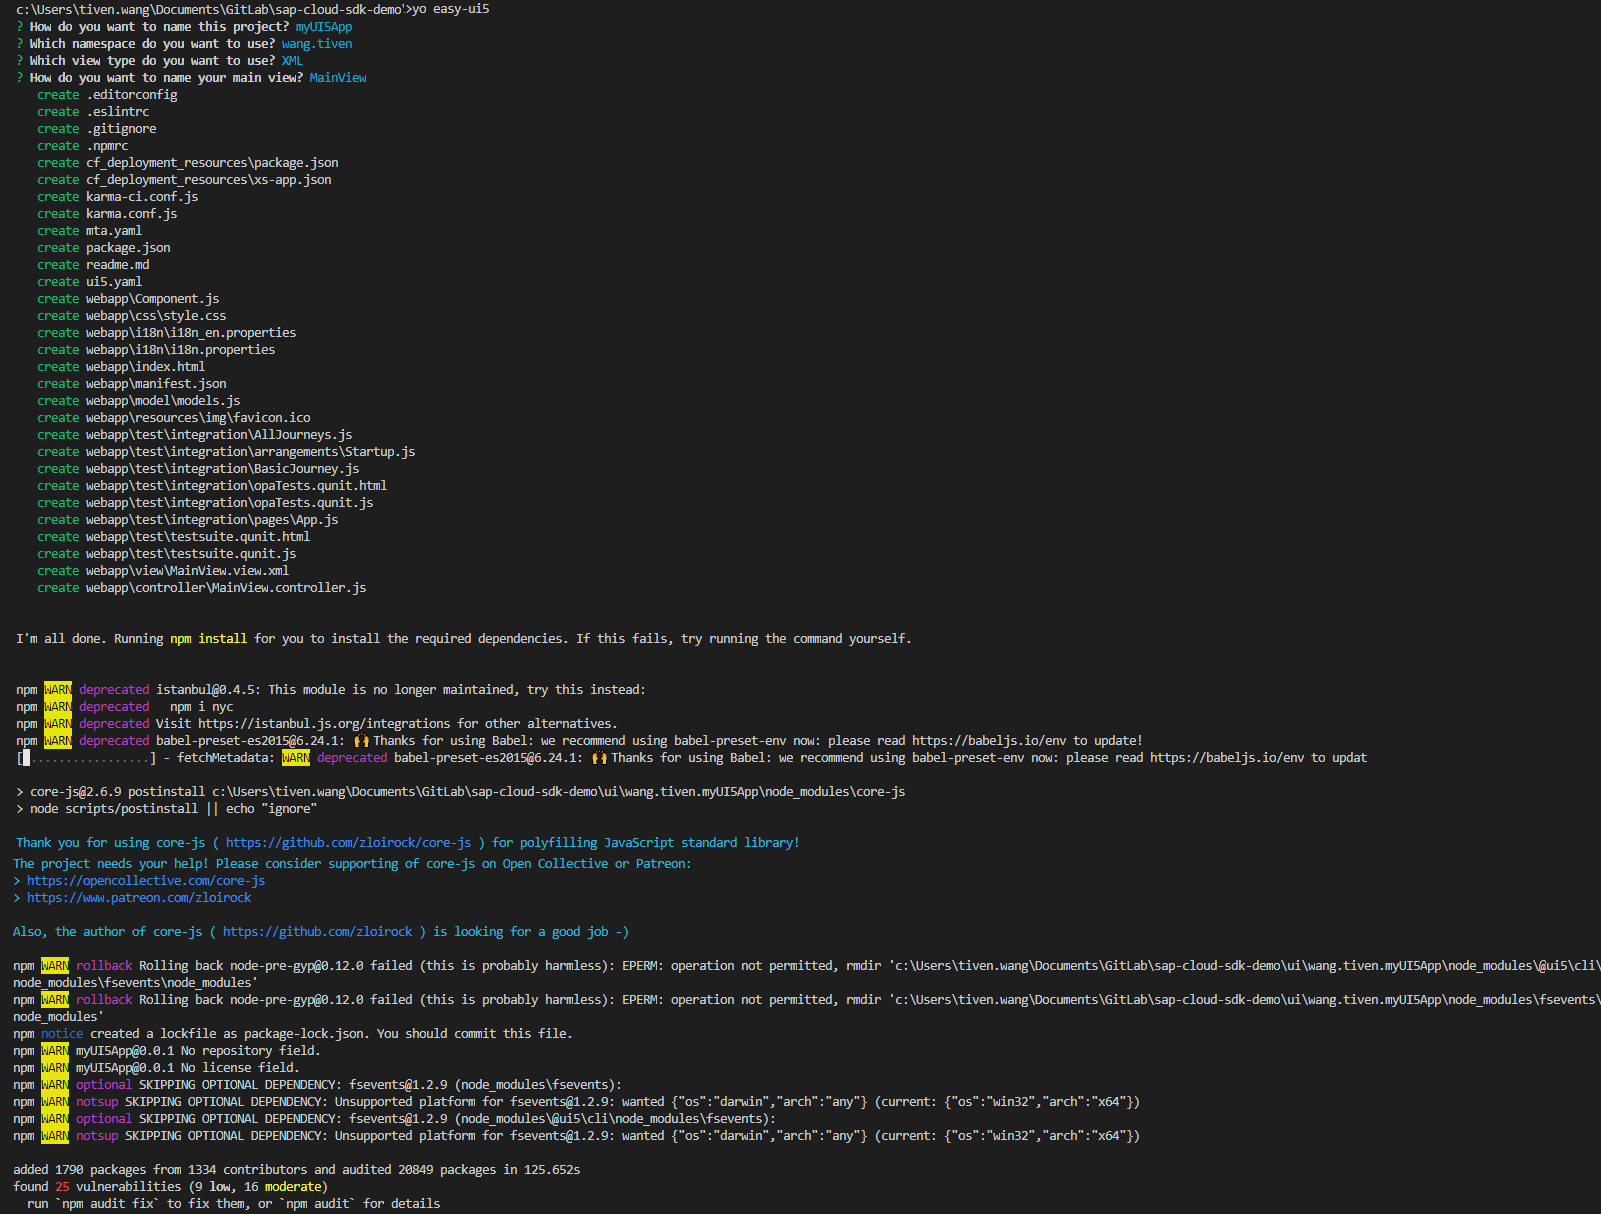
Step 2: Scaffold a SAPUI5 project
In the roor folder of the project run yo easy-ui5 to trigger the creation of a new project. You will be prompted for a couple of parameters, accept all the default values here.
yo easy-ui5
Test locally, Build, Deploy
执行命令启动本地 Web Server 来运行 UI5 App,成功后便会自动打开 UI5 主页
npm start
执行命令将 UI5 App 打包成 MTA 安装包
npm run build:cf
执行命令部署 UI5 App MTA 安装包到 SAP Cloud Foundry Platform
cf deploy mta_archives/myUI5App_0.0.1.mtar
Step 3. Enable UAA
Add the resource uaa in the file mta.yaml, then add it as one of the requires of module myUI5App
ID: myUI5App
_schema-version: 3.2.0
description: Enter description here
version: 0.0.1

modules:
 - name: myUI5App
   type: nodejs
   path: dist
   parameters:
      disk-quota: 512M
      memory: 512M
   requires:
    - name: dest_myUI5App
    - name: my-xsuaa
resources:
 - name: dest_myUI5App
   parameters:
      service-plan: lite
      service: destination
   type: org.cloudfoundry.managed-service
 - name: my-xsuaa
   parameters:
      service-plan: application
      service: xsuaa
   type: org.cloudfoundry.managed-service
Change the authenticationMethod to route in the file cf_deployment_resources/xs-app.json and add "authenticationType": "xsuaa" for the only route
{
  "welcomeFile": "/index.html",
  "authenticationMethod": "route",
  "logout": {
    "logoutEndpoint": "/do/logout"
  },
  "routes": [
    {
      "source": "^/(.*)$",
      "target": "$1",
      "localDir": ".",
      "authenticationType": "xsuaa"
    }
  ]
}
Re-build and Re-deploy the UI5 App, then you must login to access the App.
Step 4. Consume OData Service
Consume OData Service in UI5 App
在 webapp/manifest.json 配置里添加 OData Model 相关配置
- 在 “sap.app” 节点里添加一个 dataSources,这里的名字取 mainService
"dataSources": {
  "mainService": {
    "uri": "/xs/xsodata/purchaseOrder.xsodata/",
    "type": "OData",
    "settings": {
      "odataVersion": "2.0"
    }
  }
}
- 然后在 “sap.ui5” 节点里的 “models” 中增加一个 Model 如下,这里的名称取空代表主 Model,dataSource 取上一步配置的
"": {
  "preload": true,
  "dataSource": "mainService",
  "settings": {
    "defaultBindingMode": "TwoWay",
    "defaultCountMode": "Inline",
    "refreshAfterChange": false
  }
}
- 在 webapp/view/MainView.view.xml 中添加一个 Table 控件如下
			<Page title="{i18n>title}">
				<content>
	<Table id="idPOTable"
		inset="false"
		items="{
			path: '/POHeader',
			sorter: {
				path: 'PURCHASEORDERID'
			}
		}">

		<columns>
			<Column
				width="12em">
				<Text text="PURCHASEORDERID" />
			</Column>
		</columns>
		<items>
			<ColumnListItem>
				<cells>
					<ObjectIdentifier
						title="{PURCHASEORDERID}"
						text="{PURCHASEORDERID}"/>
				</cells>
			</ColumnListItem>
		</items>
	</Table>
				</content>
			</Page>
Config Destination for XS Backend
- 在 cf_deployment_resources/xs-app.json 里增加一个 route, 放在最前面
{
  "source": "^/xs/(.*)$",
  "target": "$1",
  "destination": "xs-backend",
  "authenticationType": "xsuaa"
}
- 在 SAP Cloud Foundry Platform 的 Destination 实例 my-destination 里新增一个 Destination(这里的 URL 要填写你的 XSJS App 的地址)
URL=<https\://xsjs-fluents-elephant.cfapps.eu10.hana.ondemand.com/>
Name=xs-backend
ProxyType=Internet
Type=HTTP
Authentication=AppToAppSSO
但最终访问 purchaseOrder.xsodata 时一直报错
Internal Server Error,暂时没有解决,我们换另外一种方式
Step 5. Push UI5 App with CF
由于目前 SAP MTA 模式和 SAP CF 一些 Service 还不够成熟,暂时使用 Cloud Foundry 原生的 Applications 组织方式进行开发和部署可能是一个好的选择。
- 在 manifest.yml 文件中新增应用
- name: ui5-app
  path: wang.tiven.myUI5App/dist
  random-route: true
  env:
    destinations: >
      [
        {
          "name":"xs-backend",
          "url":"https://xsjs-fluent-elephant.cfapps.eu10.hana.ondemand.com/",
          "forwardAuthToken": true
        }
      ]
  services:
    - my-xsuaa
这里 path 指向了 UI5 App 文件夹里的 dist, 这个是之前用 npm run build:cf 生成好的 UI5 App 所有的文件。为了授权需要配置之前的 my-xsuaa 实例给它的服务。
然后就是配置环境变量里的 destinations ,它是指向了 XSJS App 的地址,它的名称 xs-backend 要和 UI5 xs-app.json 里配置的一致。
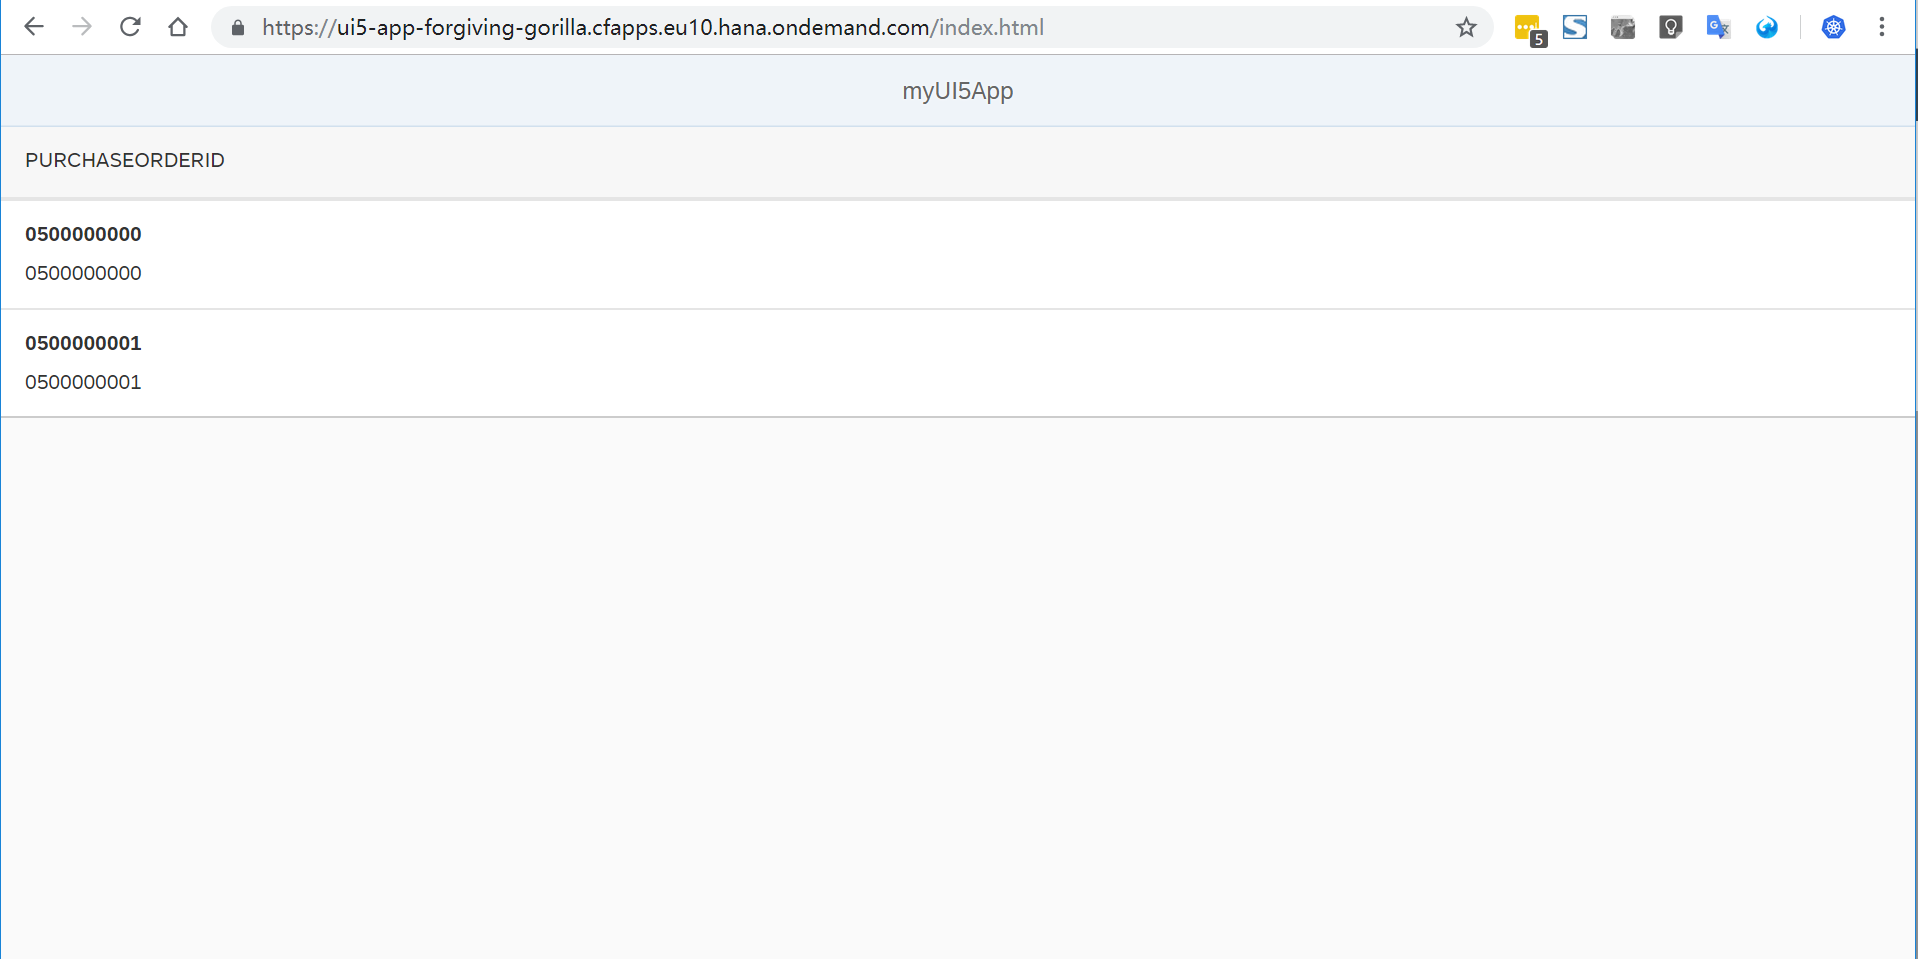
- 在项目根目录下执行
cf push ui5-app部署此应用,成功后便可访问 UI5 App 了
(Optional) Step 6. Destination to App Router
还记得我们之前的教程 SAP Cloud Foundry Node.js - Authentication Checks in Node.js Applications 里介绍的利用 App Router 作为微服务架构中的 API Gateway,它的作用是集中了多个 App 到同一个 Host URL 下,便于访问。那么我们上一步在 UI5 App 的 Destinations 却是直接指向的后端单个 App 的 URL,这一步我们把它改成指向 API Gateway App 的地址。
- 更改 ui5-app App 中的环境变量 Destinations 指向 App Router web 的地址
- 更改 App Router web 的 xs-app.json 中的 xsjs 的
authenticationType为none
为什么要改 authenticationType 为 none 呐?因为 authenticationType 支持 xsuaa 需要进行 login 页面登录,basic 方式目前我们没用。而 xsuaa 方式并不识别由前端服务带过来的额 Token,所以造成无法正常授权,改成 none 后它的作用其实是不授权而只在 UI5 App 和 XSJS App 之间转发 Token 。
那么这样看来似乎有些不妥,仔细想想这其实并不是我们想要的 App Router,API Gateway 应该属于在所有的应用包括 UI5 App 的前端做授权认证和路由,下一篇我们将对目前为止的项目代码进行重构,做到一个 App Router 带所有 App。
Comments